Step-by-Step Guide to Installing Docker on Ubuntu
For a better reading experience, rotate your mobile/tablet to the landscape view.
Docker is a platform-as-a-service product that uses operating system-level virtualization to deliver applications in packages that are called containers. What docker does is that it lets your application along with all dependencies (i.e. libraries) turned into a package that can be deployed across different environments with simple lines of commands.
Let’s say I have a Django application, I can create a docker file and build a package (i.e. container) simply using the command “docker build -t myapp”. Once I build the container, I can push it to the cloud (say Docker Hub) and pull the same package from the cloud to a different operating system with the simple command “docker pull username/myapp”. This is how easy it is.
Now let’s learn how to install the docker engine on your operating system. Here, I will demonstrate the docker engine installation on my Ubuntu server operating system. You can refer to docker documentation for installation if you have a different operating system. https://docs.docker.com/engine/install/ubuntu/
Follow the instructions below for installation of the docker engine on your Ubuntu operating system.
- In this scenario, I have installed a Ubuntu server virtual machine on my Windows hyperV. First, I will make the remote connection (ssh) on my Ubuntu server. You don’t have to follow this if you are using Ubuntu on your barebone machine.
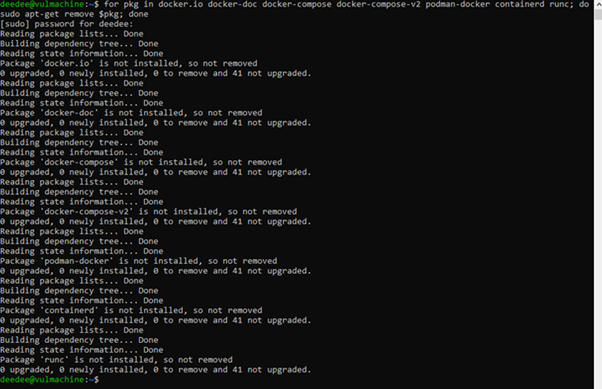
- Just in case, I will be removing any conflicting packages that may have already been installed on my Ubuntu server. For this reason, run the following command.
for pkg in docker.io docker-doc docker-compose docker-compose-v2 podman-docker containerd runc; do sudo apt-get remove $pkg; done

- Now we will install the docker engine via APT (Advance Package Tool) repository method. If you may not know, APT is a package management system on Debian-based Linux distributions (like Ubuntu) that simplifies the process of installing, updating/upgrading, configuring, and removing software packages. Now let’s first update our packages’ information from configured sources.
sudo apt-get update

- Once this is done, we will install the prerequisite packages GPG key for the official Docker repository in our Ubuntu server virtual machine. Copy and run the following commands one by one.
sudo apt-get install ca-certificates curl
(this command installs trusted certificates for downloading the docker package over HTTPS)
sudo install -m 0755 -d /etc/apt/keyrings
(this command creates a folder named keyrings in /etc/apt directory with permission “-m 0755” readable, writable, and executable by the user of the operating system)
sudo curl -fsSL https://download.docker.com/linux/ubuntu/gpg -o /etc/apt/keyrings/docker.asc
(this command downloads the docker official GPG key and saves it in “/etc/apt/keyrings/” directory)
sudo chmod a+r /etc/apt/keyrings/docker.asc
(this command changes the file permission to make it readable by all users (a+r) where “a” stands for all users and “r” stands for read permission

- Now we will be adding this repository to our apt source. Copy and paste the following command on your terminal or command prompt.
echo \
"deb [arch=$(dpkg --print-architecture) signed-by=/etc/apt/keyrings/docker.asc] https://download.docker.com/linux/ubuntu \
$(. /etc/os-release && echo "$VERSION_CODENAME") stable" | \
sudo tee /etc/apt/sources.list.d/docker.list > /dev/null
- Run “sudo apt-get update” to update our repository list. After that, we will now be installing the docker package. Run the following command.
sudo apt-get install docker-ce docker-ce-cli containerd.io docker-buildx-plugin docker-compose-plugin 
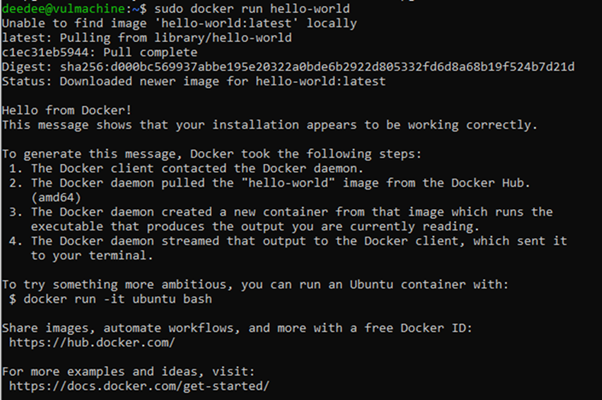
- Now run the following command to test if the docker package is correctly installed.
sudo docker run hello-world

If you see this message then you have successfully installed the docker engine on your Ubuntu server. Congratulations, you just learned how to install the docker engine on the Ubuntu operating system.


